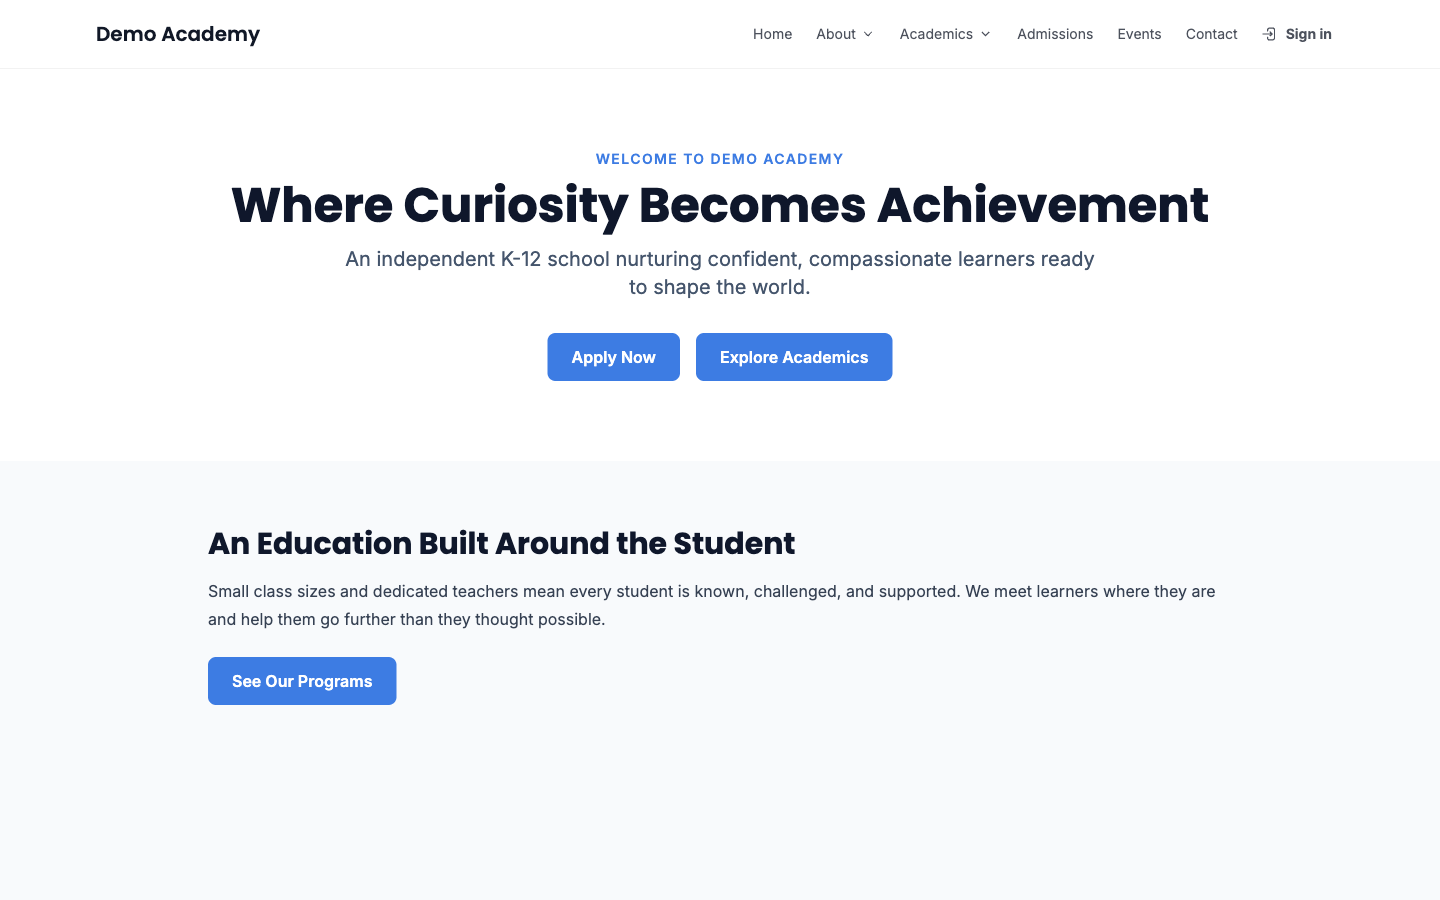
Every school on TeachHero gets its own public website at your school's subdomain (for example, https://yourschool.teachhero.com). The Pages builder lets you create the pages on that site — a homepage, About page, Admissions page, and anything else — by stacking ready-made content blocks.
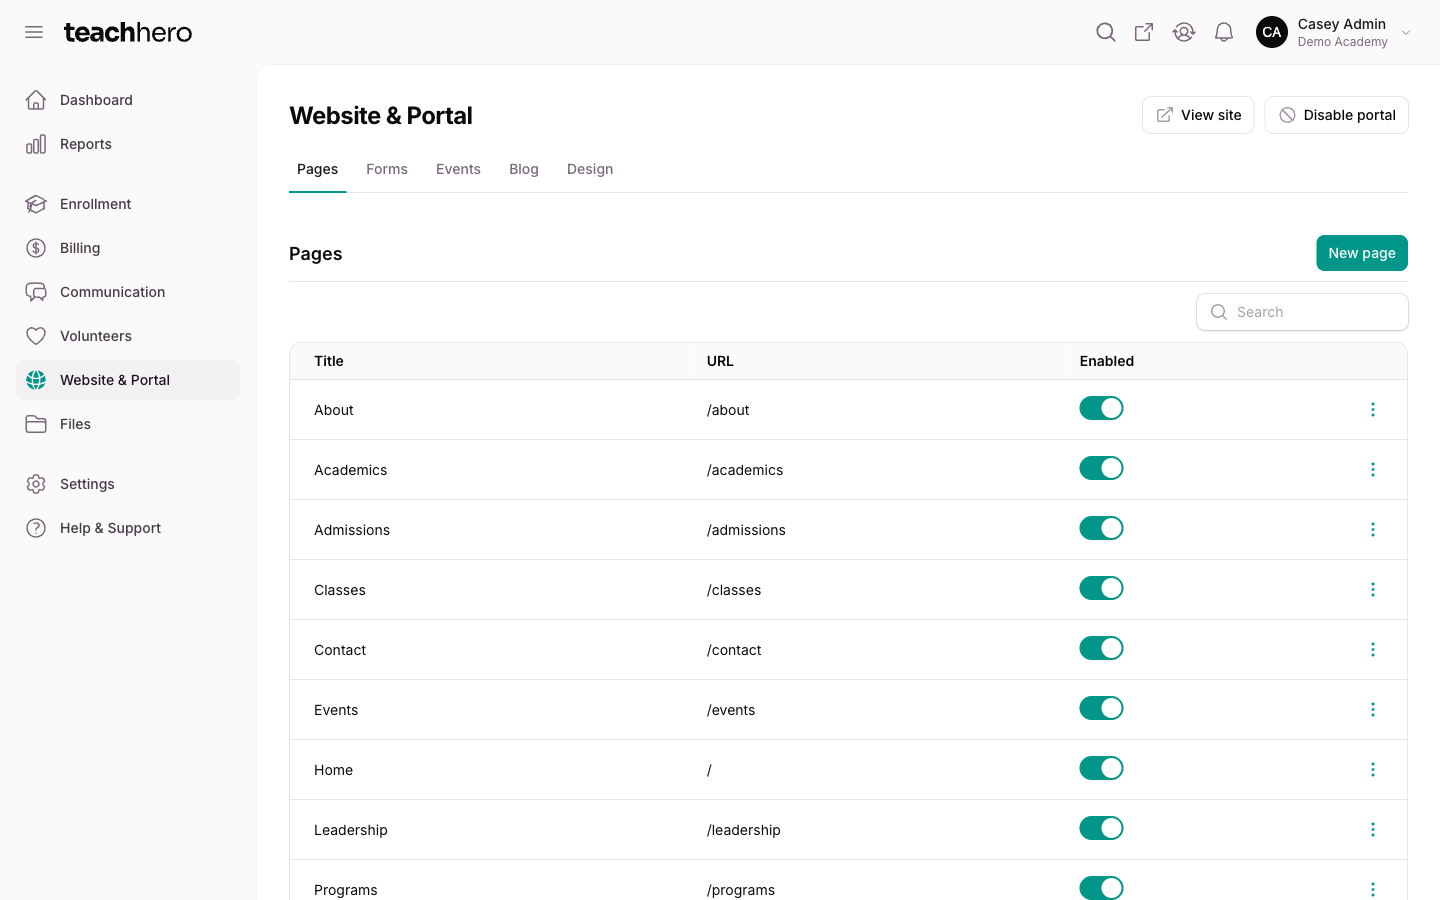
Go to Website & Portal → Pages to get started. The View site button in the header opens your live site in a new tab at any time.
Start with the starter site
Creating your first page, or the starter site, turns on your school's website pages for you. If you have no pages yet, the empty Pages list offers a shortcut:
- Click Create starter site.
- TeachHero creates four draft pages: a homepage, About, Admissions, and Contact page, pre-filled with sample content.
- Open each page, replace the sample text with your school's own words, then publish.
Prefer a blank slate? Click Start from scratch instead to go to the New page screen and build a page yourself.
Note: Nothing is visible to visitors until you publish a page — drafts are safe to experiment with.
Create a page
- Go to Website & Portal → Pages.
- Click New page.
- Pick a template, or choose blank to start from scratch. Templates include Home, About Us, Admissions, Contact Us, Blog, Class Catalog, Program Catalog, Teacher Directory, and Events — each pre-arranges the right blocks with sample content.
- Enter a page title.
- Click Create page.
The new page opens in the editor as an unpublished draft. Its web address is based on the title (you can change the slug in the editor's settings section).
Note: If a page is still empty, a Use a template button appears in the editor's top bar so you can apply a template later. It disappears once the page has content.
Add and arrange blocks
Pages are built from blocks. In the editor, click Add block and choose a block type:
| Block | What it shows |
|---|---|
| Hero | A large banner with a headline and buttons, with an optional background image. |
| Section | A heading, text, and optional image and call-to-action button. |
| Quote | A testimonial with a name, role, and optional photo. |
| Grid | A set of cards, each with a title, short text, and optional image. |
| Catalog | A browsable listing of your classes or programs. |
| Directory | A photo directory of people, such as your teachers or leadership. Each person links to their own profile page, built from the photo, bio, website, and social links they add on their Profile page. |
| Events calendar | A calendar and upcoming list fed by your school events. |
| Posts | Your published news and blog posts. |
| Map & address | Your address on a map, plus phone and email. |
| Form | One of your web forms, embedded on the page. |
| Video | A YouTube, Loom, or Zoom recording. Paste the share link and add an optional caption. |
Click a block to open Edit block, and drag blocks to reorder them.
Note: Changes to page content save automatically as you work. Only the title and slug at the top of the editor need the Save changes button.
Preview a page
The editor's top bar has a Preview button (labeled View once the page is published). It opens the page on your live site in a new tab. Drafts are only visible to you and other logged-in staff — visitors see nothing until you publish.
Publish or unpublish a page
- Open the page in the editor.
- Click Actions → Publish.
- Confirm by clicking Publish in the modal.
The page is now visible to visitors on your site. To take it back down, click Actions → Unpublish. The Status column on the Pages list shows whether each page is Published or Draft.
Warning: If a page still contains sample text from a template, the editor shows a warning before you publish — including sample testimonials with made-up names. Replace these with your school's real content before publishing.
Delete a page
- Open the page in the editor.
- Click Actions → Delete.
Or use the row menu on the Pages list. Deleting a page removes it from your site immediately.