Posts are your school's news and blog articles. Write them in the admin panel, then show them on your website with a Posts block — use them for announcements, newsletters, and event recaps.
Go to Website & Portal → Blog.
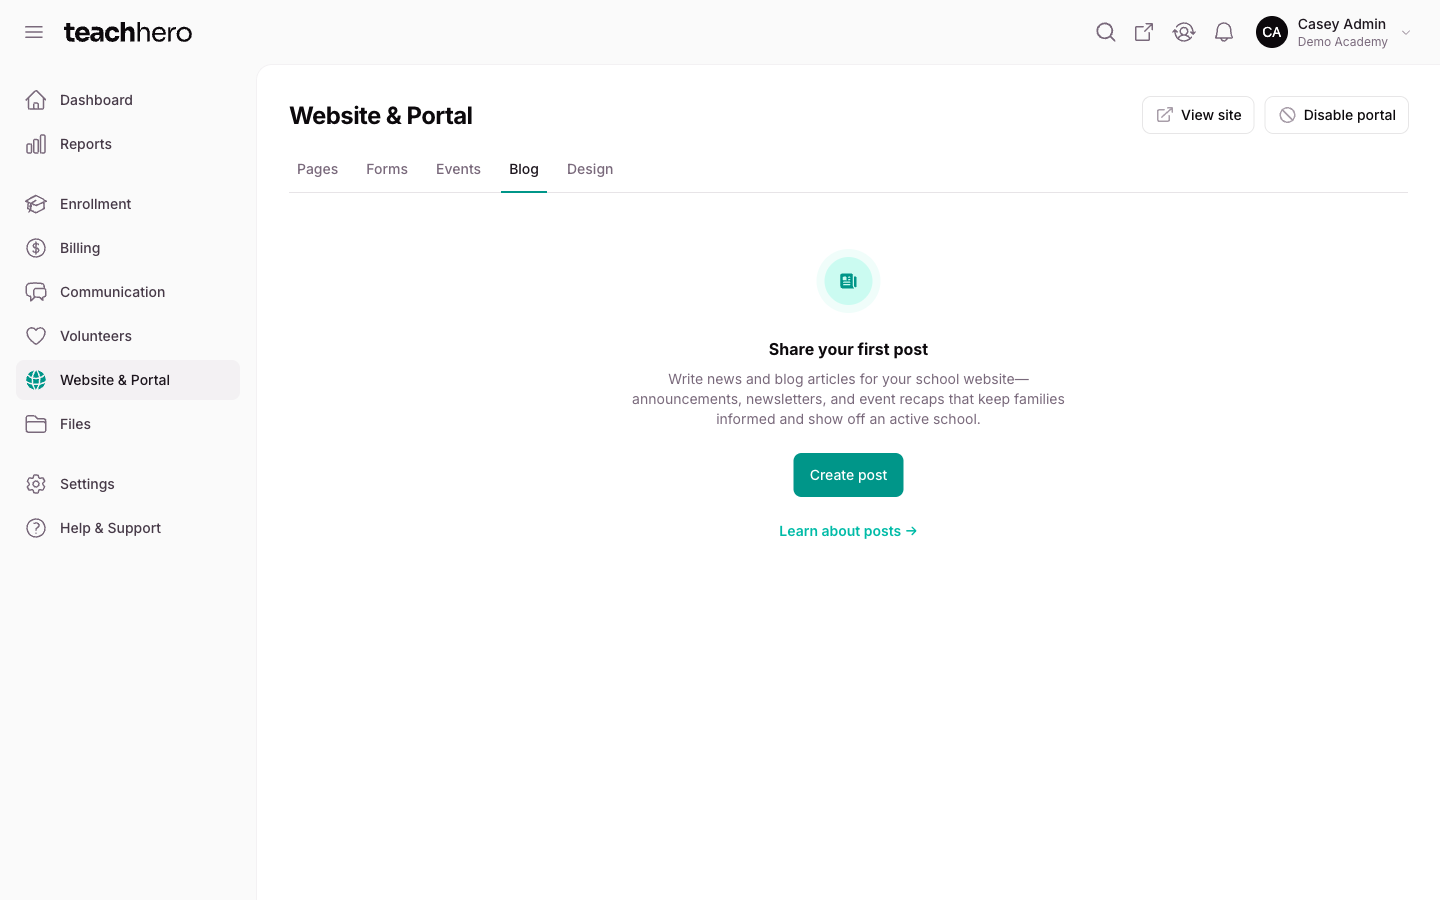
Write a post
- Go to Website & Portal → Blog.
- Click New post.
- Enter a Title. The Slug (the post's web address) fills in automatically — adjust it if you like.
- Add a short Summary. It's shown on blog index cards, so keep it to a sentence or two.
- Write the post in the Body editor. You can format text, add headings, lists, tables, links, and attach files.
- In the sidebar, upload a Featured image (you can crop it to 16:9, 4:3, or 1:1), confirm the Author (it defaults to you — any admin or teacher can be chosen), and pick Categories.
- Set the Publish date, then click Create.
Publish, schedule, or keep as a draft
The Publish date field controls a post's status:
- Leave it blank to keep the post as a draft.
- Pick a past or current date to publish it right away.
- Pick a future date to schedule it — it appears on your site automatically when that time arrives.
The Posts list shows each post's status as a Draft, Scheduled, or Published badge.
Note: Drafts and scheduled posts are hidden from visitors, but logged-in staff can preview them at the post's web address.
Organize posts with categories
Categories group related posts (e.g. "Newsletter", "Sports", "PTA") and let readers filter the blog.
- On the Posts list, click Categories.
- Click New category.
- Enter a Name (the Slug fills in automatically) and an optional Description.
- Click Create.
You can also create a category on the fly from the Categories field while writing a post. A post can belong to several categories, and the Posts list can be filtered by Category.
Show posts on your website
Posts appear on your site in two places:
- A blog page. Add a Posts block to any website page (or create a page from the Blog template). The block lists your published posts and lets you choose the layout (grid or list), posts per page, and whether to show the featured image, summary, author, and date. See Building Your School Website.
- Each post's own page. Every published post gets its own address at
https://yourschool.teachhero.com/posts/your-post-slug, so you can link to it directly from emails or social media.
Delete a post
Open the post and click Delete, or select posts on the list and use the bulk delete action.
Warning: Deleting a post removes it from your website immediately, and any links you've shared to it will stop working.