Events put your school calendar on your website — open houses, holidays, fundraisers, and no-school days. General events can also take online sign-ups, with attendee limits and registration forms.
Go to Website & Portal → Calendar. The list shows a calendar plus a table of your events with their type, date, sign-up count, and Published/Draft status.
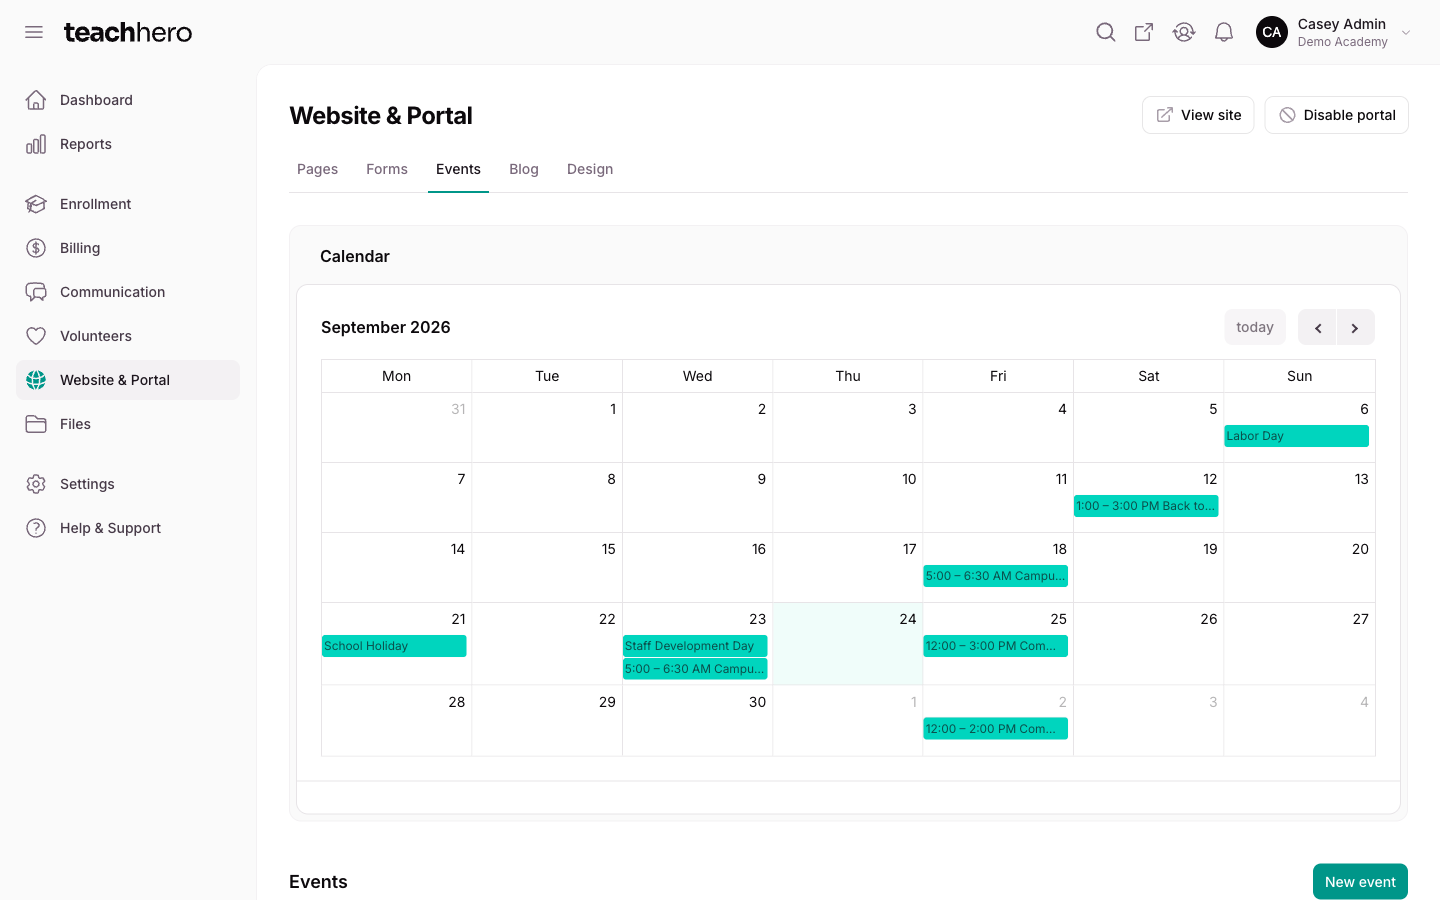
Create an event
- Go to Website & Portal → Calendar.
- Click New event.
- On the Details tab, enter a Title and choose a Type: General, Holiday, or No School. Only General events can take sign-ups.
- Set the Start date. Leave End date blank for a single-day event.
- Turn on All day, or set a Start time and End time.
- Turn on Published when the event is ready for your website — leave it off to keep a draft.
- On the Description tab, add a Location and a description.
- Click Create.
You can publish or unpublish events later from the list using the bulk Publish/Unpublish actions, or by editing the event.
Turn on sign-ups
On the Registration tab (shown for General events):
- Turn on Allow sign-ups.
- Optionally set a Capacity — the default attendee limit per date. Leave it blank for unlimited. Registration closes automatically once the event is full.
- Optionally add registration forms: click Add form, pick one of your family forms, and set two options per form:
- Required — registrants must complete the form to finish signing up.
- Per attendee — collect one response per attendee instead of one per registration.
You can also manage attached forms later from the Forms tab on the event (the Forms tab is shown while sign-ups are enabled): click Attach to add another family form with the same two options.
Repeat an event
On the Repeats tab:
- Turn on Repeats.
- Choose how often under Repeats: Weekly, Monthly, or Specific date.
- For weekly events, choose On: Same day or Specific days of the week. For monthly events you can also pick Start of month, End of month, or Specific days of the month.
- Set the Ends date — recurring events must have an end date.
- Click Create.
TeachHero generates the whole series of events for you.
Edit or cancel a series
Open any event in the series. The header shows Edit (changes just that event) and a Manage menu with series-wide options:
- Edit entire series — choose whether changes apply to This and upcoming events or All events in the series.
- Cancel event(s) — cancel Only this event, This and upcoming events, or All events in the series. Canceled events stop taking sign-ups.
- Delete event(s) — permanently remove events from the series with the same choices.
Warning: Deleting events cannot be undone. If you just need to call an event off, cancel it instead.
Where events appear
- Your website. Add an Events calendar block to any website page (or create a page from the Events template) to show a calendar and upcoming-events list. See Building Your School Website.
- The event's own page. Each published event has a public page at
https://yourschool.teachhero.com/events/...— the sign-up page families use. Draft and canceled events aren't publicly visible.
Track sign-ups
Open an event and click the Registrations tab to see who has signed up: the registrant's name and email, the event date, how many attendees they're bringing, their status, and when they registered. The events table also shows a Sign-ups count per event.