TeachHero has two kinds of forms:
- Family forms are portal paperwork — permission slips, medical information, questionnaires. Attach them to terms, programs, classes, events, and applications, or send one to a family as a form request. They live under Enrollment → Family forms and have no public page.
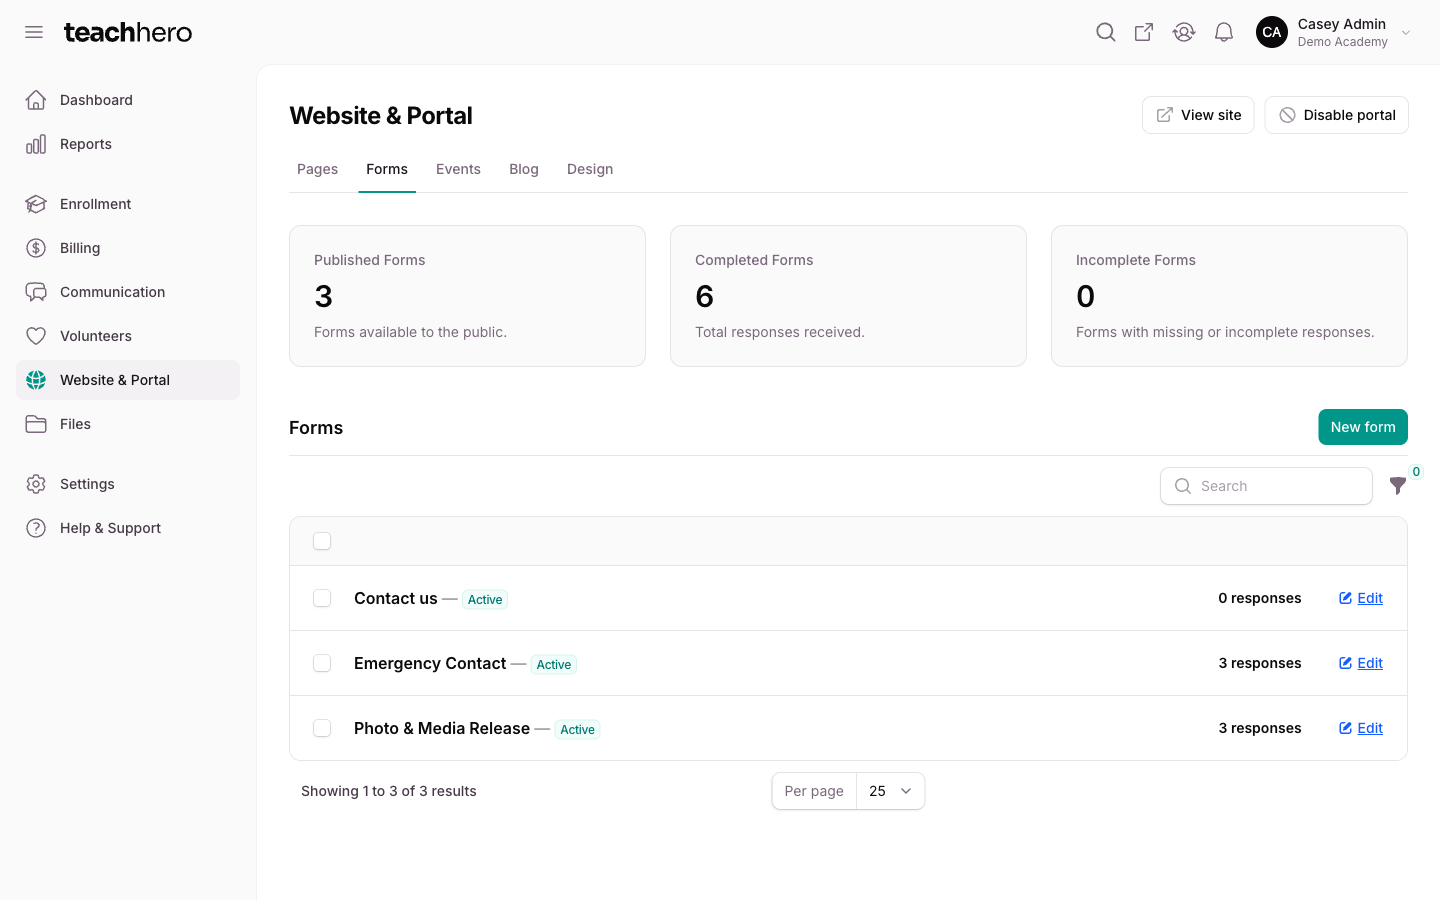
- Web forms are public forms for your school's website — contact forms, inquiries, tour requests. Embed one on a website page or link to it from a button, and its submissions collect on a Submissions tab. They live under Website & Portal → Web forms.
A form's type comes from the list you create it in, and can't be changed afterward. To move a form's name and fields to the other type, duplicate it — see "Switch a form's type" below.
Create a family form
- Go to Enrollment → Family forms.
- Click New form.
- Choose a starting point: Blank form, or one of the ready-made templates (Release of Liability, Medical Release & Emergency Info, Photo & Media Release, Field Trip Permission Slip, Event RSVP, Parent Feedback Survey, Student Withdrawal Notice, Allergy & Dietary Info, Re-enrollment Intent). Selecting a template shows a full preview of its fields.
- Enter a form name.
- Click Create form.
You land in the form editor with your fields ready to customize.
Create a web form
- Go to Website & Portal → Web forms.
- Click New form.
- Choose a starting point: Blank form, or one of the ready-made templates (Contact Us, New Family Inquiry, Teacher/Staff Application, Tour / Visit Request). Selecting a template shows a full preview of its fields.
- Enter a form name — this is the public title visitors see.
- Click Create form.
You land in the form editor with your fields ready to customize.
Add and edit fields
The editor shows your fields on the left and the form's settings on the right. Every change saves automatically — there's no save button.
- Click Add field.
- Pick a field type — see Form Field Types for what each one does.
- Give the field a label, an optional description, and check Make required if an answer is mandatory.
Hover over an existing field to edit it (Edit field → Update), delete it, or drag it into a different order. You can also insert a new field between two existing ones.
Family form settings
On the right side of the editor:
- Form details — the Form name.
- Sharing — Share with teachers: when a response is associated with a student, that student's teachers can view it. Turn this on for forms like allergy or medical information that teachers need to see.
Web form settings
On the right side of the editor:
- Form details — the Form name and the Submit button label (defaults to "Submit").
- After submission — choose Show a message to display a message once someone submits, or Go to a page to send them on to a full web address or a page path starting with
/. - Access — Require login: visitors sign in to the parent portal before they can fill out the form.
- Notifications — Email school admins about new submissions: on by default. Every school admin gets an email with the answers each time someone submits.
Publish a web form
Family forms are always published — there's nothing to publish, and families see one as soon as you attach it or send it as a form request.
A new web form starts as a draft and isn't visible to the public. When you're ready, publish it from either place:
- From the forms list: click Publish on the form's row, then confirm with Publish.
- From the editor: open the Actions menu in the top bar, click Publish, then confirm with Publish.
Published web forms show a Published badge on the forms list; drafts show Draft. Use Unpublish, on the form's row or in the editor's Actions menu, to take a form offline without losing anything.
Share a web form
Click Go to form in the editor's top bar to open the form's public page on your school's website — copy that link into an email, a text alert, or anywhere else. You can also embed the form on a page on your school's website, or link to it from a button. Family forms have no public page; families fill them out inside the portal, from enrollment, an application, an event, or a form request.
Switch a form's type
To move a form's name and fields to the other type:
- In the editor's Actions menu, click Duplicate as web form (on a family form) or Duplicate as family form (on a web form).
- Confirm with Duplicate.
This copies the name and fields into a new form of the other type and opens it. A new family form is published and ready to attach or send; a new web form starts as a draft, so publish it when you're ready. The original form stays as it is.
Archive or delete a form
From the Actions menu in the editor: a form with no responses can be deleted; once it has responses you can Archive it instead, which keeps the responses but retires the form.