A class is what students enroll into and what teachers are assigned to. Enrolled students appear on the class roster, and assigned teachers get access to the class — its roster, attendance, announcements, and classwork — from their teacher dashboard.
Every class belongs to a term, so the Classes tab only appears once your school has at least one term.
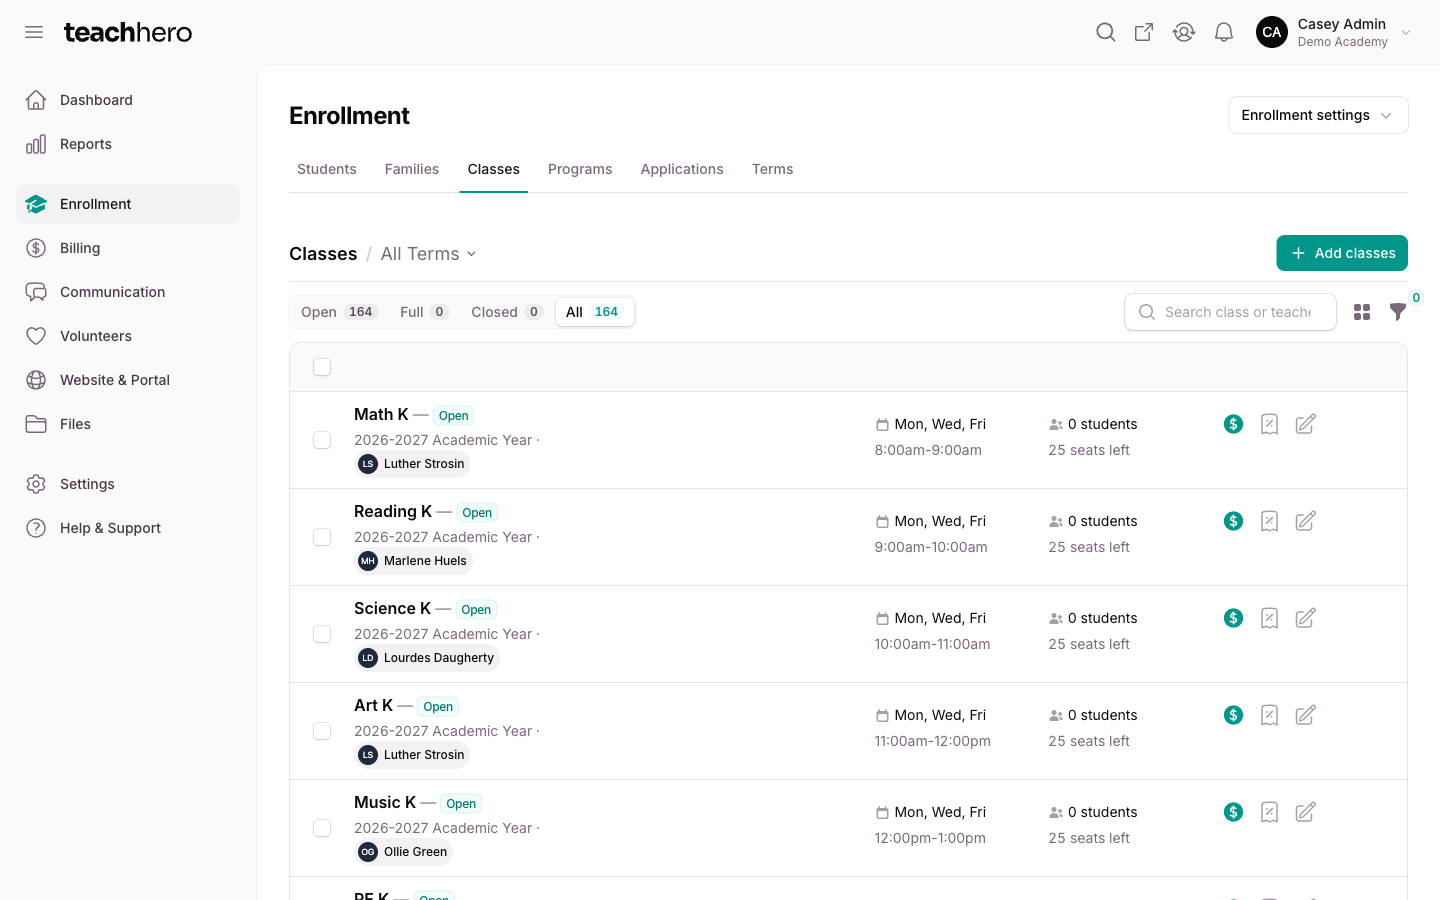
Create a class
- Go to Enrollment → Classes tab.
- Click New class.
- Fill out the form (fields below).
- Click Create class.
To bring in many classes at once from a spreadsheet, click Import classes and upload a CSV with the class name, category, grade levels, seats, enrollment status, days, teachers, and location.
Class form fields
Details
- Class name — shown to parents and students. Names don't have to be unique, but clear names help families pick the right class.
- Term — the term the class belongs to. Students registered for this term can enroll.
- Category — a required label for the type of class (e.g. Course, Lab, Study Hall). It's shown on class details pages, invoices, receipts, and academic terms. Click Manage categories next to the field to add, rename, or delete categories without leaving the class.
- Assigned teacher(s) — assigning a teacher gives them access to the class in their teacher dashboard. Search and pick from the people with the Teacher role (anyone already assigned to the class stays listed), or add a new teacher right from the field. To make someone available here, check Teacher under Assigned roles on their contact.
Meeting information
- Meeting days — which days of the week the class meets.
- Time period — the class period (start and end time). Click Manage periods next to the field to add, edit, or delete periods without leaving the class.
- Location — where the class meets.
- Use custom dates — by default a class uses the term's start and end dates; check this to set its own.
Enrollment Settings
- Eligible student levels and Eligible age groups — who can enroll. A student qualifies by matching any listed level or age group (age is checked automatically from their date of birth); leave both empty to open the class to everyone. Click Manage levels or Manage age groups next to either field to set them up. Admins can override by enrolling directly. See Levels, Age Groups & Promotion.
- Seats — maximum capacity. Enrollment closes automatically when full.
- Enrollment status — Open, Closed, or Full.
- Allow a la carte enrollment — lets families enroll in this class directly from your school's website. When off, students only get in through a program that includes the class, or when an admin enrolls them.
- Enable waitlist — lets families join a waitlist once the class is full. It's off by default, so turn it on for each class that should have one. See Waitlists.
The class's Welcome email isn't part of this form. You write it on the class's Details tab — see Automatic Enrollment Email.
Grading System — optional weighted categories for grading assignments. Without one, assignments are graded on total points. See Grading Systems.
Edit a class
- Open the class from the Classes list.
- Click Edit class.
- Make your changes and save.
Use the Class Details Page section on the class's Details tab to write what the class is about — it appears on the class page on your school's website, and assigned teachers can edit it too.
Make a class public or private
New classes are private — only admins see them. To show a class on your school's website:
- Open the class.
- Click Manage → Make public.
- Confirm with Make public.
Use Manage → Make private to hide it again, and View public page to see what families see. You can also select several classes in the list and use the bulk Make public / Make private actions.
The class page
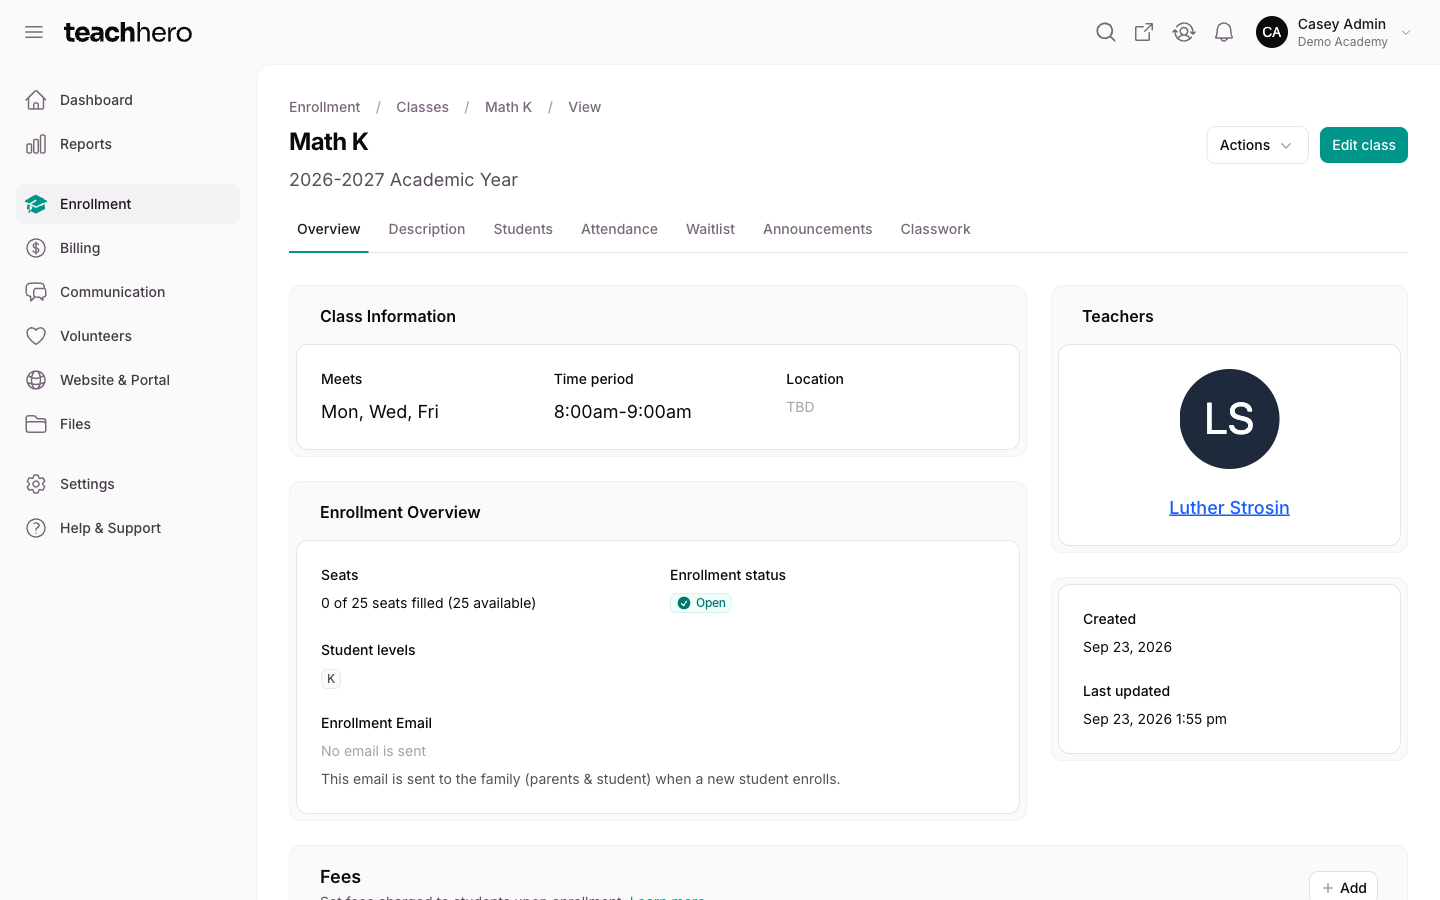
Opening a class gives you tabs for everything about it:
- Details — meeting info, seats filled (including seats held in active carts and waitlist offers), enrollment status, teachers, the class's Fees & Discounts and Enrollment Forms sections, the public class Description (click Save description after editing it), and the Welcome email section (click Save welcome email after editing it).
- Students — Roster and Waitlist views. The roster includes Export roster, Enroll student, a bulk Copy students action to copy enrollments into another class, and per-student View, drop, and re-enroll actions. View opens the invoice that class's charges landed on, with everything billed for it and what's been paid; a student with nothing billed yet opens on their contact page instead.
- Attendance — Daily Log and Summary views.
- Announcements and Classwork — see the Learning Management articles.
Find, filter, and export classes
On the Classes list:
- Use the status pills Open / Full / Closed / All and the term selector in the heading to narrow the list.
- Use the filter icon for filters by Term, grade levels, days, periods, published, or archived.
- Use the toolbar icon next to search to switch between table and card view.
- Select classes and choose Export to download a Class list or Rotation sheet spreadsheet.
- Select classes and choose Update status to set them all Open or Closed in one step.