Send an email to anyone at your school — individual contacts, the parents of a class or program, or your whole community — from one place. Emails start as drafts, so nothing goes out until you're ready.
Create an email
- Go to Communication → Emails.
- Click New email.
- Enter a Subject and click Start writing.
The draft opens in the email editor. Nothing is saved until you click Start writing, so closing the window without a subject leaves no empty draft behind. To start from one of your templates instead, click Use a template next to the Subject — see Email Templates.
Write your email
The editor works like a normal email compose window, and every change is saved automatically — there's no save button.
- Add recipients in the To field. See Choosing Email Recipients.
- Check the Subject. You can change it here.
- Write your message. Use the toolbar to format text, add headings, links, and lists.
- Adjust the Signature if needed — it's pre-filled with your default.
- Attach files if needed. See Email Attachments.
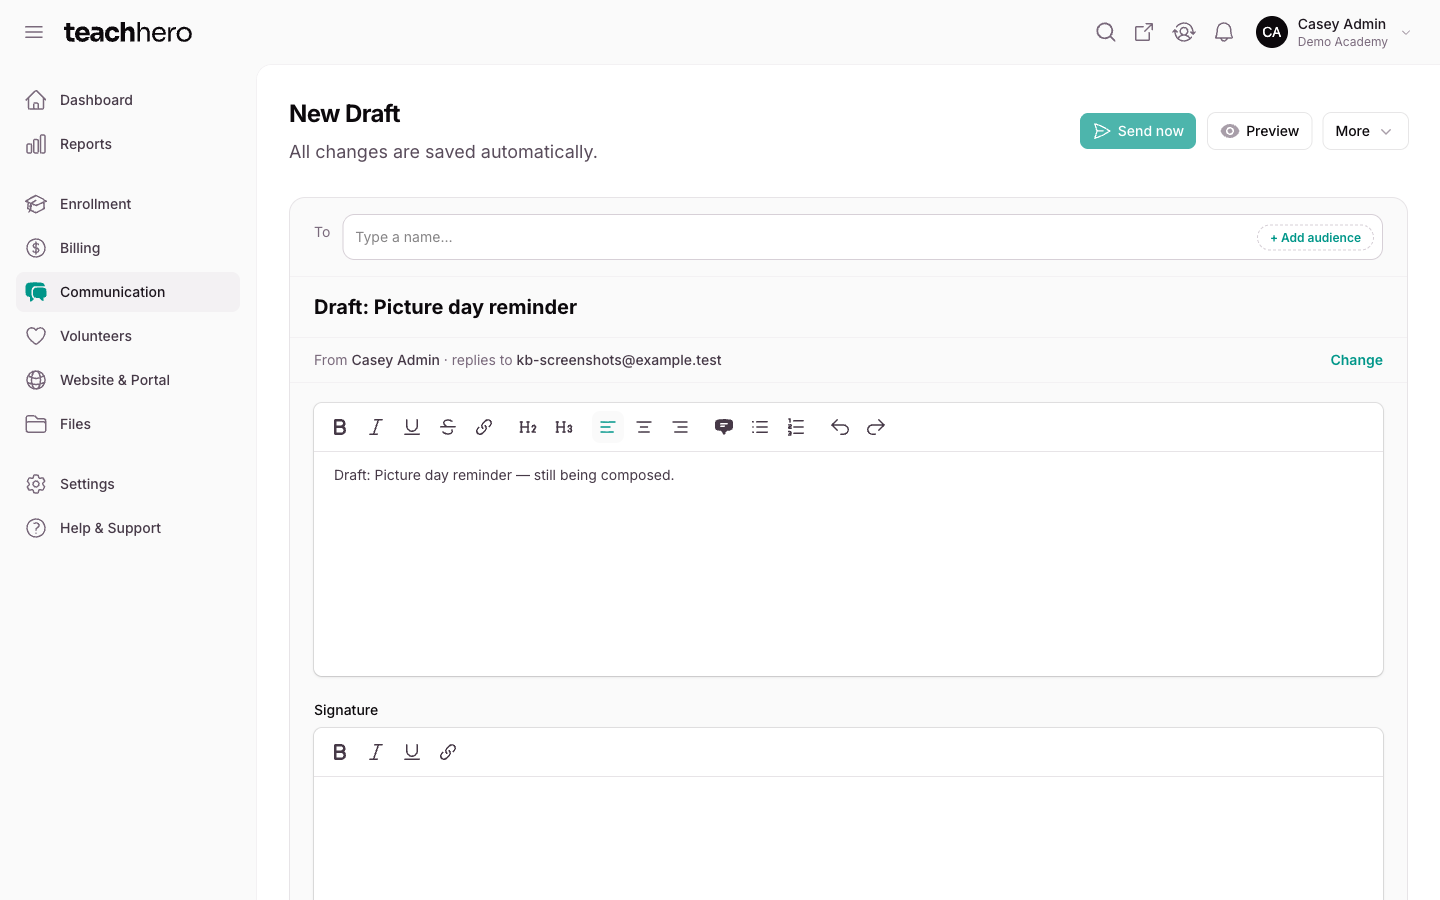
The From line is pre-filled with your name and email address; click Change to edit it. When you're ready, send it right away or schedule it — see Sending an Email.
Find your drafts later
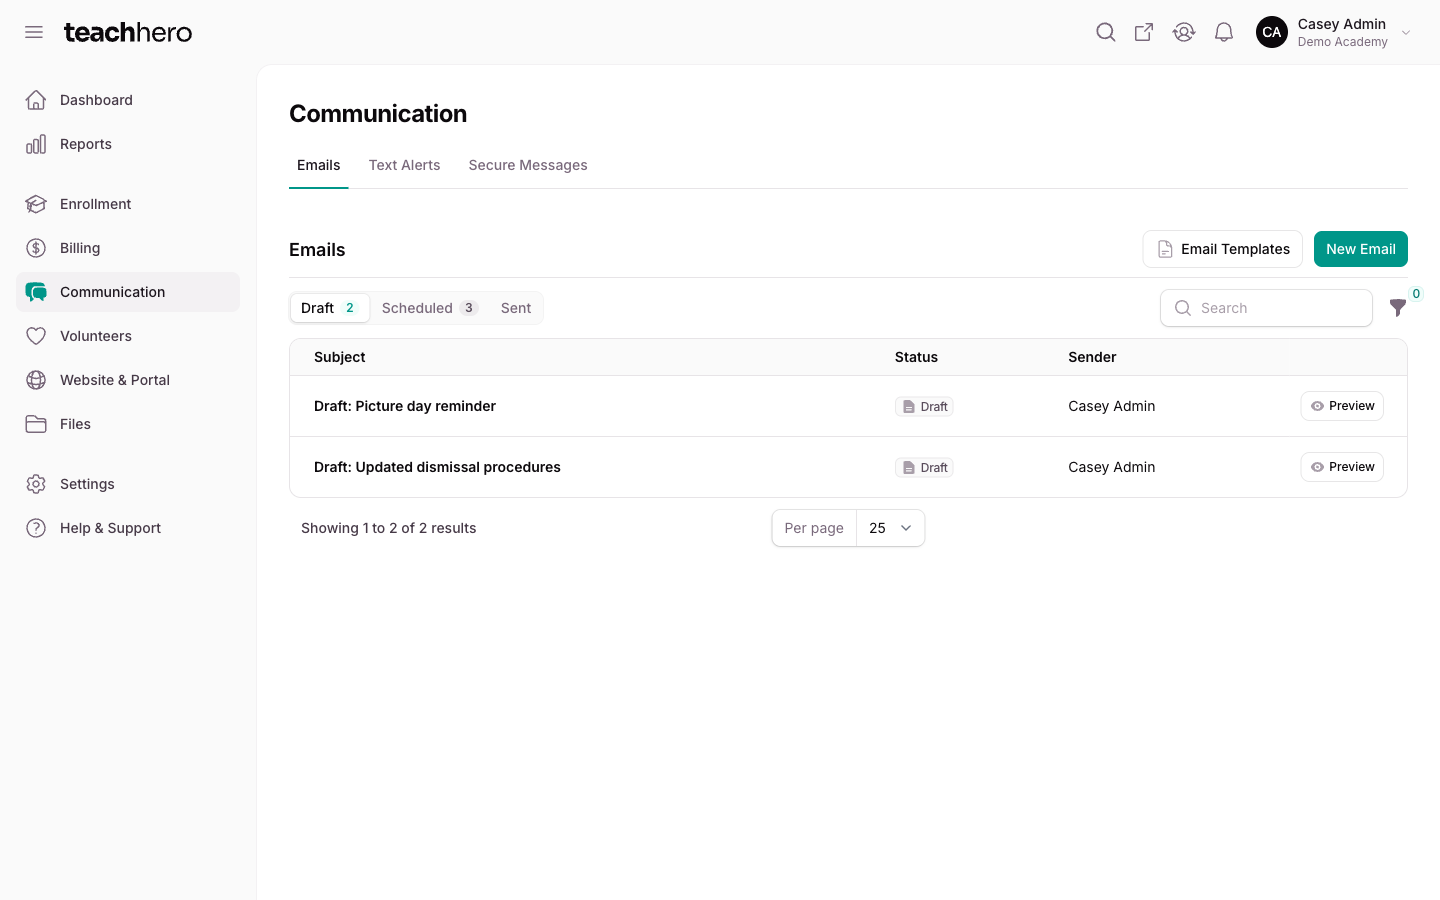
The Emails page groups everything by status: Draft, Scheduled, and Sent. Scheduled also holds emails that are queued or sending right now, and a Failed tab appears only when an email has failed. The page opens on Draft, so you can pick up where you left off — just click the email to reopen the editor.
Note: Email has no monthly limit on any plan. See Plans & Pricing.
Note: Teachers can also send emails from the teacher panel under Communication → Emails, using the same steps.