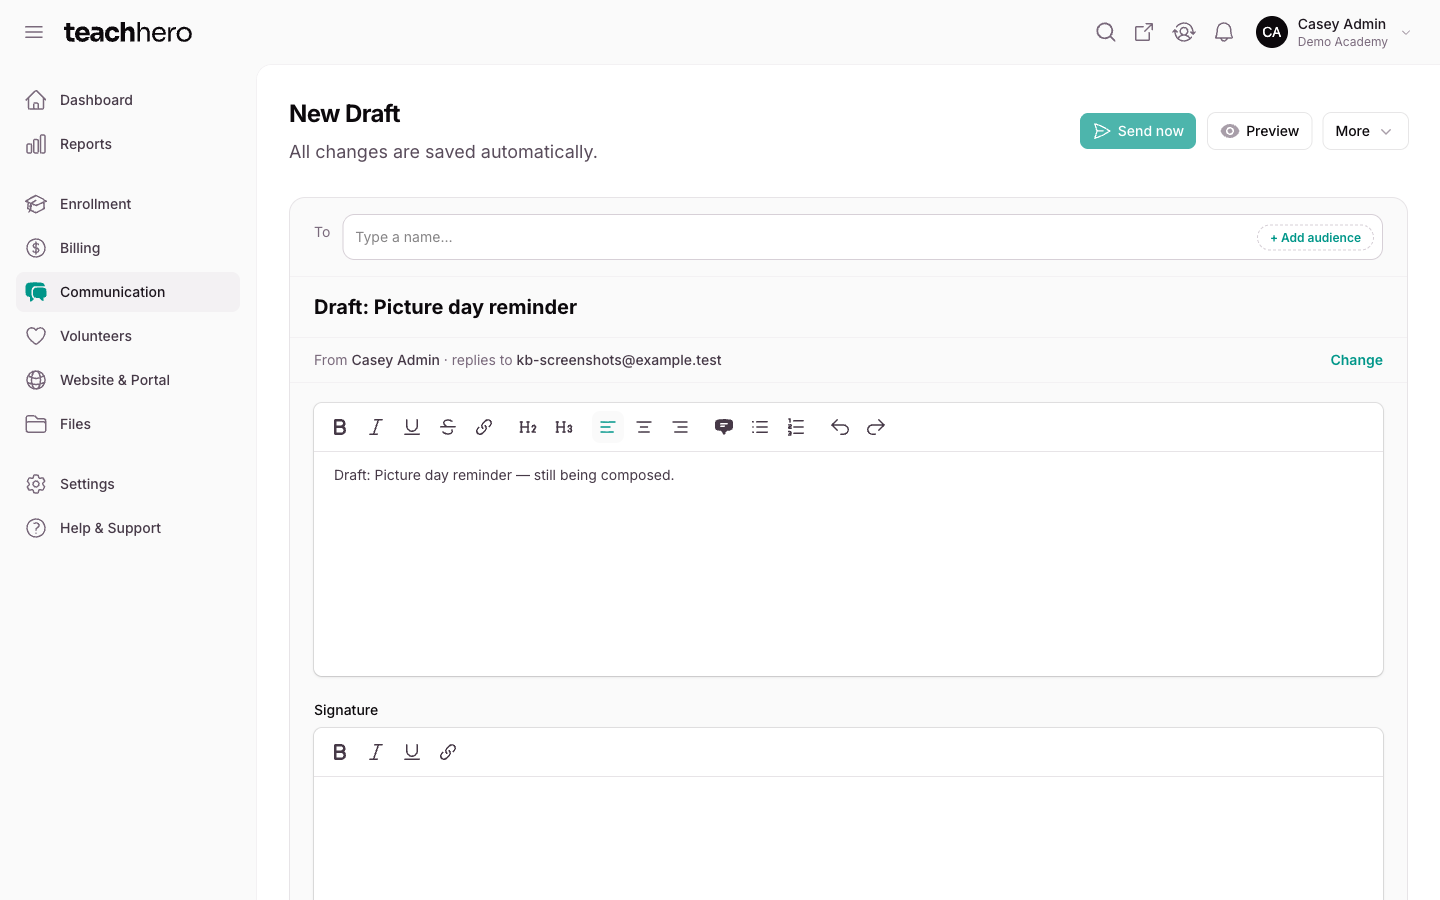
Recipients are picked in the To field at the top of the email editor. You can mix individual contacts with audiences — built on the spot or saved as groups — in a single email. Changes are saved instantly.
Add individual contacts
- Click into the To field and start typing a name or email address.
- Click a contact in the results to add them.
Only contacts with an email address on file appear in the results.
Add an audience
- In the To field, click + Add audience.
- Choose an audience type:
- Build an audience — describe who to reach: parents, students, teachers, and more (see below).
- Saved groups — a group of contacts you saved earlier. Tick the groups you want in the panel that opens and click Add to recipients.
To reach the families of a class, program, or term — or the people registered for an event — use Build an audience and narrow it to that group.
Note: In the teacher panel, the audience menu offers Classes (parents of students in a class) and Students (parents of specific students). Tick the classes or pick the students in the panel that opens — for classes you can narrow the list by Term and Grade level. Build an audience and Saved groups are available in the admin panel.
Build an audience
Reach exactly the right people without setting up a group first:
- In the To field, click + Add audience → Build an audience.
- Choose Who do you want to reach? — Students, Parents & guardians, Teachers, Admins, Volunteers, or Attendees (people registered for events).
- Narrow it down if you need to: pick Student levels or Age group options, or pick Terms to browse and select their Classes or Programs. For attendees, pick the Events. Leave everything blank to reach everyone with that role. The Preview at the bottom describes the audience and shows how many contacts it finds.
- Want to keep this group for next time? Turn on Save this group for next time and give it a Group name — it'll appear under Saved groups the next time you add an audience.
- Click Add to recipients.
The audience lands in the To field as a chip named by its description — "Parents & guardians of students in Tuesday Co-op". Remove the chip and a one-off audience is discarded; a saved group stays available under Saved groups.
Check who will receive it
Below the To field, a counter shows "Goes to about N people" — the number of email addresses that will get it. Someone who is in more than one of your audiences (for example a parent of two students in the same class) is counted once and gets one copy. If some selected recipients have no email address, a warning tells you how many will be skipped.
Recipient lists are worked out when the email actually sends. If you schedule an email to a class and a new student enrolls before it goes out, their parents are included too.
The counter doesn't know about blocked addresses. A recipient whose address is bouncing or was marked as spam is counted here, then shows as Skipped in the Recipients list once the email goes out — see Blocked Email Addresses.
Remove recipients
- Click the × on any chip to remove that contact or audience.
- Click Clear all to remove everyone and start over.